Winter creates beautiful snow-covered landscapes, but it also brings hidden challenges for residential roofing systems. One particularly troublesome problem involves ice dams, which develop when melting snow freezes again near the edges of a roof. Although these formations may appear harmless initially, they can cause substantial damage to shingles, gutters, insulation, and interior walls.
Unfortunately, many homeowners discover ice dam problems only after water stains appear on ceilings or moisture begins damaging attic insulation. By that point, repeated freezing and thawing may have already compromised vulnerable roofing materials.
However, homeowners can reduce these risks by understanding how ice dams form and addressing the conditions that encourage them. Proper insulation, attic ventilation, roof maintenance, and moisture protection all contribute to better winter performance.
Understanding the Science Behind Roof Ice Dams
Ice dams develop when different sections of a roof experience different surface temperatures.
During winter, heat escaping from living spaces can warm the roof deck beneath accumulated snow. Consequently, snow begins melting even when outdoor temperatures remain below freezing.
The resulting water travels downward until it reaches the colder roof overhang. Because this section extends beyond the heated building, the water freezes again and gradually forms an ice ridge.
As additional snow melts, water collects behind the growing barrier.
Eventually, trapped moisture may move beneath roofing materials and reach the underlying structure.
According to the University of Minnesota Extension’s ice dam guidance, uneven roof temperatures play a central role in this process.
Therefore, preventing ice dams requires homeowners to address unwanted heat loss rather than focusing exclusively on visible ice accumulation.
Recognize Early Warning Signs Before Damage Spreads
Homeowners can often identify developing ice dams before serious water damage occurs.
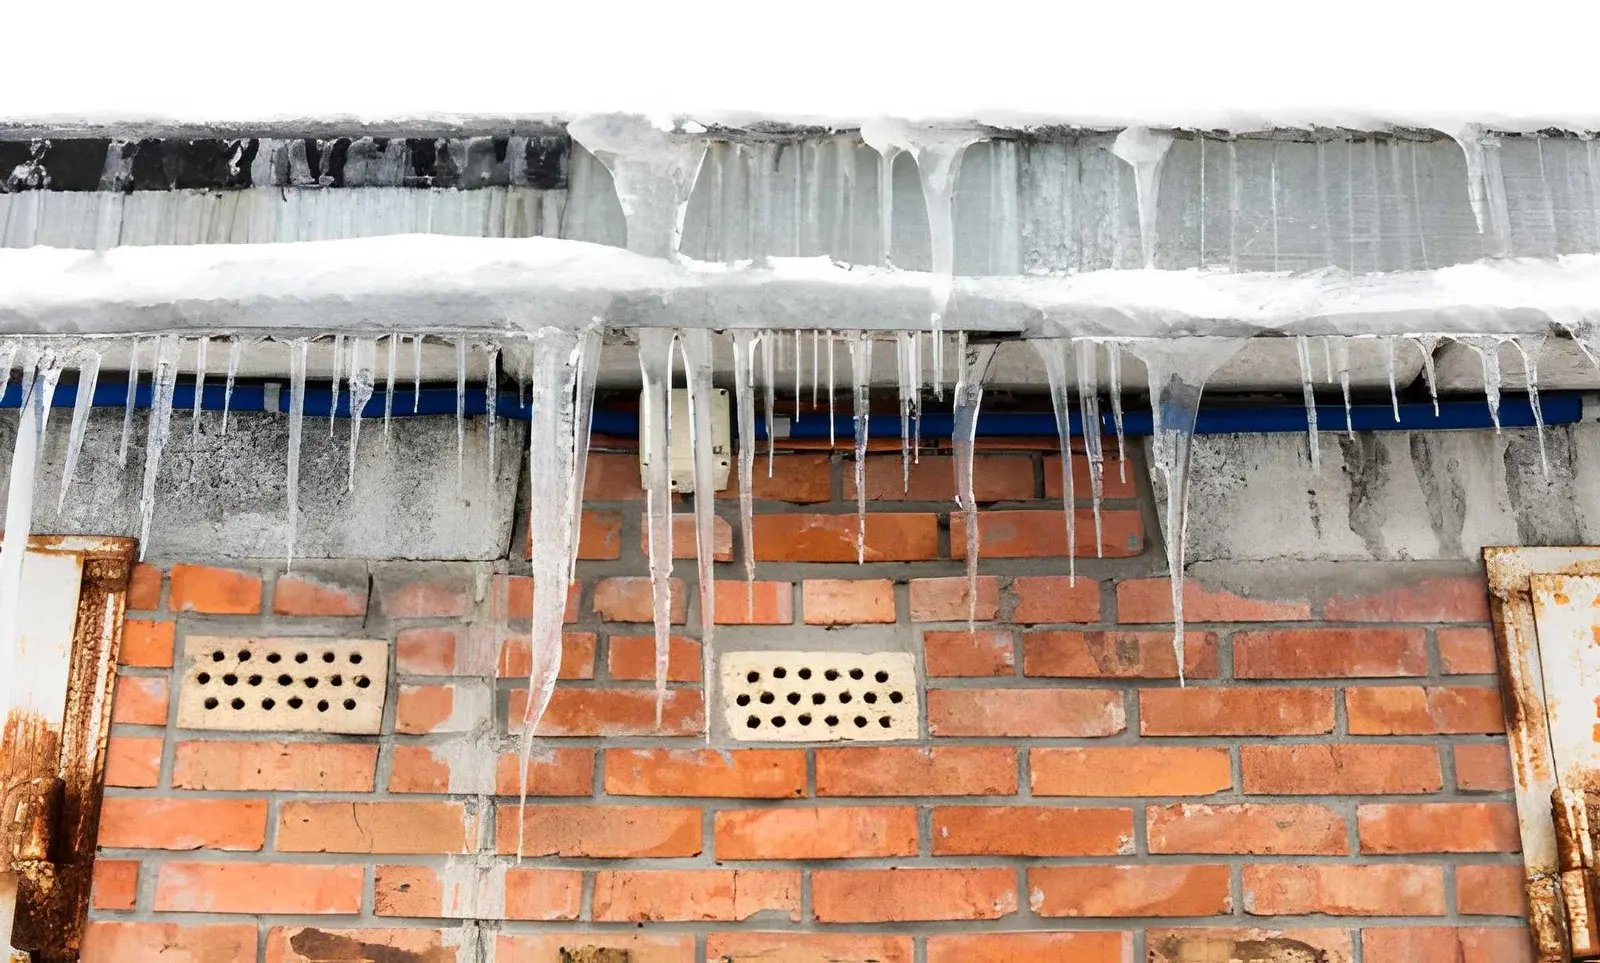
For example, large icicles hanging from roof edges may indicate repeated melting and refreezing. However, icicles alone do not always confirm that an ice dam exists.
More concerning signs include thick ice ridges along the eaves, uneven snowmelt patterns, and moisture stains near exterior walls.
Inside the home, homeowners may notice peeling paint, damp insulation, discolored ceilings, or unusual moisture around window frames.
Furthermore, attic inspections may reveal frost accumulating beneath the roof sheathing.
These conditions deserve immediate attention because prolonged moisture exposure can weaken building materials and encourage mold growth.
Homeowners should document suspicious changes and arrange professional inspections when the source remains unclear.
Reduce Heat Loss Through Proper Attic Insulation
Inadequate attic insulation frequently contributes to uneven roof temperatures.
When heated indoor air transfers warmth into the attic, the roof deck can become warm enough to melt accumulated snow. Consequently, meltwater travels toward colder sections and refreezes.
Improving insulation helps reduce this unwanted heat transfer.
Homeowners can install suitable fiberglass, cellulose, or other approved insulation materials to improve thermal performance.
However, insulation thickness alone does not guarantee success.
Installers must provide consistent coverage around ceiling penetrations, attic access points, and exterior wall top plates.
Additionally, they should prevent insulation from blocking necessary ventilation pathways.
The U.S. Department of Energy’s attic insulation guidance explains how properly installed insulation and ventilation baffles support roof performance.
As a result, homeowners should evaluate both insulation levels and installation quality before investing in additional materials.
Seal Air Leaks That Allow Warm Air Into Attics
Although insulation slows heat transfer, air leakage can still transport significant warmth and moisture into attic spaces.
Common leakage points include attic access doors, plumbing penetrations, recessed lighting, electrical openings, and gaps around framing connections.
Therefore, homeowners should prioritize air sealing before adding insulation.
Contractors can use appropriate sealants, weatherstripping, and approved air barriers to close unwanted openings.
For example, an attic hatch may require an insulated cover and properly fitted weatherstripping.
Similarly, bathroom exhaust ducts should discharge outdoors through correctly installed vents rather than releasing warm, humid air into the attic.
However, openings around chimneys and heat-producing fixtures require approved fire-safe materials and clearance distances.
By controlling unwanted airflow, homeowners can reduce attic heat buildup and limit moisture-related roofing problems.
Maintain Effective Attic Ventilation
Proper attic ventilation helps regulate moisture and temperature within suitable vented roof assemblies.
Many homes use soffit vents to introduce outdoor air and ridge vents to release air near the roof peak.
When these components operate together, they support airflow beneath the roof deck.
However, blocked soffit openings, damaged vent screens, or poorly configured ventilation systems can reduce effectiveness.
For instance, insulation pushed tightly against the underside of roof sheathing may obstruct ventilation channels.
Consequently, warm attic air may remain trapped near vulnerable roof sections.
Homeowners should ensure that ventilation baffles preserve clear airflow pathways where the roof design requires them.
Nevertheless, adding more vents does not automatically resolve ice dams. Some homes use properly designed unvented roof assemblies instead.
Therefore, ventilation improvements should match the building’s roofing structure, insulation design, and local requirements.
Protect Roof Edges With Appropriate Underlayment
Even a well-maintained roof can experience occasional ice buildup during severe winter conditions.
For this reason, protective roofing materials provide an important secondary defense.
Self-adhered ice and water membranes help protect vulnerable areas where backed-up meltwater could penetrate beneath roofing materials.
Contractors commonly install these membranes along eaves and other locations exposed to potential water accumulation.
Additionally, properly installed drip edges direct water away from vulnerable roof components.
The Department of Energy’s guidance on self-sealing roof membranes explains how these materials help protect roof edges in cold climates.
However, protective membranes do not eliminate the conditions responsible for ice dams.
Instead, they help limit water intrusion when freezing and thawing still occur.
Keep Gutters and Downspouts Functioning Properly
Gutters play an important role in directing roof runoff away from the building.
During autumn, leaves, branches, and other debris can accumulate inside gutter channels. When winter arrives, these obstructions may interfere with drainage.
Consequently, trapped water can freeze and increase ice accumulation near roof edges.
Homeowners should clean gutters before winter and inspect downspouts for blockages.
Additionally, they should check gutter alignment, loose fasteners, and areas where water spills behind the system.
However, gutters rarely represent the primary cause of ice dams.
The National Weather Service’s ice dam prevention recommendations emphasize gutter maintenance alongside insulation, ventilation, and snow management.
Therefore, homeowners should treat clean gutters as one component of a broader prevention strategy.
Remove Excess Snow Without Damaging Roofing Materials
Heavy snow accumulation provides the moisture that eventually contributes to ice dam formation.
Removing some snow from vulnerable roof edges may help reduce the amount of meltwater available to refreeze.
However, homeowners must prioritize safety.
A roof rake designed for snow removal can sometimes clear accessible lower roof sections while the operator remains safely on the ground.
Nevertheless, people should avoid standing beneath unstable icicles or heavy overhanging snow.
Homeowners should also avoid climbing icy ladders or walking across frozen roofing surfaces.
Furthermore, metal shovels, hammers, and sharp tools can damage shingles, flashing, and gutter components.
When thick ice has already accumulated, professional assistance offers a safer approach.
Qualified contractors may use specialized equipment to remove ice while minimizing damage to roofing materials.
Identify Moisture Damage During Spring Inspections
Spring provides an opportunity to evaluate how well a roof performed throughout winter.
Once snow and ice disappear, homeowners can inspect visible roofing components for damage.
They should look for lifted shingles, damaged flashing, loose gutters, deteriorated sealants, and staining beneath roof edges.
Additionally, attic inspections can reveal watermarks, wet insulation, mold growth, or damaged wood.
Even when interior ceilings appear dry, hidden moisture may remain inside building cavities.
Therefore, homeowners should address suspected leaks promptly.
Replacing damaged materials and correcting the original moisture source can help prevent additional deterioration during future winters.
Professional roof inspections become particularly valuable after repeated ice dam problems or significant water intrusion.
Create a Winter-to-Spring Roof Maintenance Plan
Consistent maintenance helps homeowners identify developing problems before they become expensive repairs.
A practical seasonal plan should include:
- Autumn: Clean gutters, inspect roof flashing, and examine attic insulation before heavy snowfall.
- Early winter: Check attic ventilation openings and investigate unusual indoor heat loss.
- During snowfall: Observe ice accumulation from a safe location and monitor vulnerable roof edges.
- Late winter: Watch for recurring ice ridges, interior moisture stains, and uneven snowmelt.
- Spring: Arrange necessary repairs, inspect insulation, and address damaged roofing components.
Furthermore, homeowners should maintain photographs and inspection records to identify recurring problem areas.
By comparing seasonal conditions, they can recognize patterns that suggest persistent insulation deficiencies or airflow problems.
Prioritize Permanent Improvements Over Temporary Solutions
Temporary measures may reduce immediate ice accumulation, but they rarely solve the underlying problem.
For instance, roof heating cables can help maintain drainage channels in certain situations. However, they consume electricity and require proper installation and maintenance.
Similarly, removing visible ice may relieve an immediate concern without addressing attic heat loss.
Therefore, homeowners should focus first on long-term improvements.
Air sealing, properly installed insulation, suitable ventilation, and reliable roof-edge protection provide a more comprehensive approach.
In addition, professional evaluations can help identify roof-design complications that require specialized solutions.
Although these improvements may involve upfront expenses, they can reduce recurring moisture damage and improve overall building performance.
Conclusion
Ice dams develop when roof temperature differences cause melting snow to refreeze near colder roof edges. Over time, the resulting ice barriers can trap water and expose roofing materials, insulation, and interior finishes to moisture damage.
Fortunately, homeowners can reduce these risks through proper attic insulation, effective air sealing, suitable ventilation, and regular seasonal maintenance.
Moreover, protective underlayment, functional gutters, and safe snow management provide additional safeguards during demanding winter conditions.
Most importantly, lasting prevention requires correcting the causes of uneven roof temperatures instead of repeatedly removing visible ice.
By combining proactive inspections with thoughtful building improvements, homeowners can protect their roofs, minimize winter damage, and enter spring with fewer unexpected repair concerns.
Also Read
- Innate vs. Enate Homophones: Spelling & Definition
- NSFW Meaning in Text: Usage, Examples & More
- Inclosed vs Enclosed: What’s the Real Difference?